


Connecting Components that are Earthed

The easiest way to establish whether or not your equipment is earthed, is to look at the IEC socket - if it has 3 pins then it is highly likely to be electrically earthed and you should attach your ground wire/s to the casework. If the power lead is captive (i.e. wired directly into the back of your component), then look to see if there is the symbol for ‘double insulated’ printed on the back panel. If there is no symbol then it’s safe to say it has an earth.
You will need:

Technical Ground Weave
Ways to attach
Your Technical Ground wire/s should be attached directly to the metal casework or chassis of the component. We offer a number of simple ways to do this.
You will need:
Technical Ground Weave
Ways to attach
Your Technical Ground wire/s should be attached directly to the metal casework or chassis of the component. We offer a number of simple ways to do this.
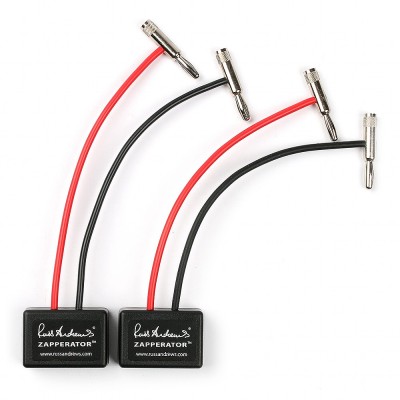
 1. Chassis Ground Adaptor
Available as a single or triple version, these are made to connect to any available chassis screw.
They are terminated with a 4mm eyelet for a secure fit to the equipment and a high quality 4mm Banana socket for your ground wire.
The Chassis Ground Adaptor needs to be touching bare metal, so you may need to scratch a tiny bit of paint off from around the hole in the casework that you’re attaching to. The end of a scapel or screwdriver should do the trick - just mind you don't slip!
Once you have some bare metal, screw on the adaptor and then connect your Technical Ground Weave (TGW) via the banana plug.
You will need:

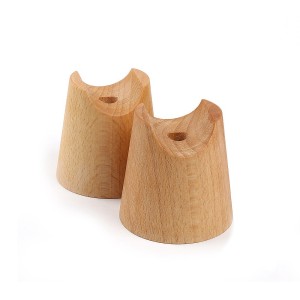
2. Casework Ground Magnet
The Casework Ground Magnet offers a simple, effective solution for steel-cased equipment. The magnet uses a strong 30mm diameter magnet to attach securely to casework, reducing the need to loosen or remove chassis screws.
Available with either one or three 4mm nickel-plated banana sockets - and wired with Kimber TCX - to connect your ground wire/s. It does not need to be touching bare metal, as our tests show it’s effective even when attached to coated surfaces.
You will need:

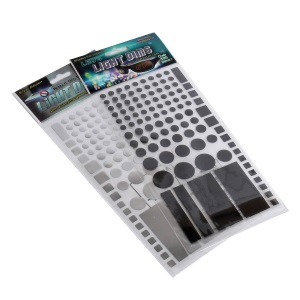
3. Chassis Tags
The chassis tag is ideal where you have an available screw to remove and fit the tag onto as it gives a nice secure fit. However, due to the size, we can only fit the corresponding connector (called a Piggy-Back spade) to the smaller gauge Technical Ground Tri-braid.
Alternatively, this a good DIY option using the basic ground wire and our Crimping kit. The Piggy-Back connector (the part that slides onto the tag) is also stackable, so more than one wire can be connected at a time, although we recommend no more than two wires are connected to one tag.

You will need:

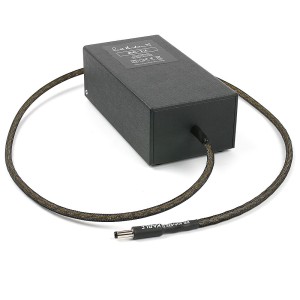
4. Direct
 The final DIY option is to connect the ground wire directly to the casework. Our ground wires are available with either bananas, spades or eyelets and in a variety of sizes. The most common of these is an M5 (5mm), which refers to the distance between the prongs of a spade or the diameter of the hole in an eyelet. To check what size you need, remove the screw that you’ve chosen to use and measure the diameter of the thread and the head.
You will need:

Example Connections - all components electrically earthed

Click here for Section 2.2 : Connecting double-insulated components
Click here to view all grounding products


